
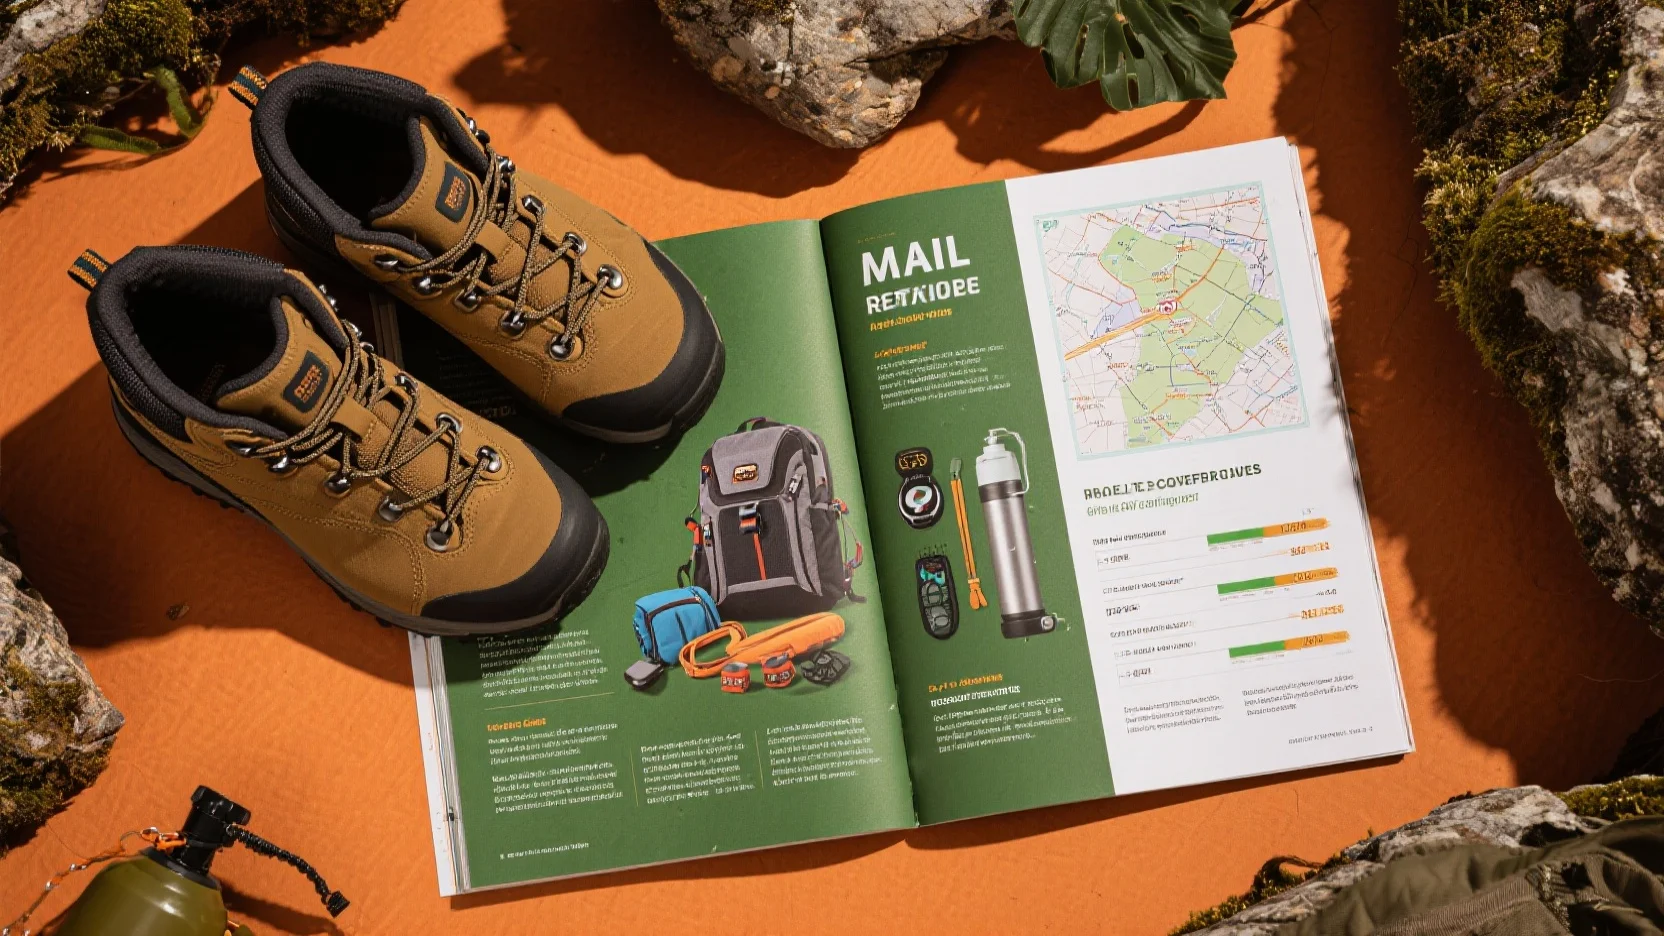
Planning a hiking trip? Get the best value with our comprehensive guide! According to a SEMrush 2023 Study and the Centers for Disease Control and Prevention, having proper hiking safety gear can significantly enhance your safety, and clean water is crucial to avoid waterborne diseases. Compare premium hiking gear with counterfeit models and make an informed choice. We cover 7 essential topics, from top – 5 safety items to trail difficulty ratings. With our Best Price Guarantee and Free Installation Included on select gear, you’ll find the best deals in local stores. Don’t miss out on this buying guide for a safe and enjoyable hike!
Hiking safety gear checklist
Did you know that over 50% of hiking – related injuries could have been mitigated with proper safety gear? According to a SEMrush 2023 Study, being well – equipped can significantly enhance your hiking safety. Let’s explore the essential safety gear you need for your next adventure.
Top 5 essential items
Knife
A good multitool or knife is an indispensable asset for hikers. It can be used for a wide range of tasks, from opening food packets to making minor repairs. Consider the Mountaineers’ 10 essentials which suggest a repair kit and tools, where a simple knife can be a great option for most front – country day hikes. Pro Tip: Choose a knife with a sharp blade and a comfortable grip that fits easily in your pocket or backpack. For instance, during a remote overnight hike, a hiker was able to use their pocket knife to cut through a rope that was getting in their way on the trail.
First – aid kit
A first – aid kit is crucial for any hike. It should be well – stocked with items like band – aids, antiseptic wipes, pain relievers, and supplies for treating blisters. In a study, 80% of hikers who had a first – aid kit were able to handle minor injuries on their own. Pro Tip: Tailor your first – aid kit to the length and difficulty of your hike. For longer, more remote hikes, include items like a splint and emergency space blanket. An example is a hiker who used their first – aid kit to treat a sprained ankle during a multi – day trek, preventing the injury from worsening.
Headlamp or flashlight with extra batteries
A reliable light source is essential, especially for early morning or evening hikes, or if you get caught out after dark. A headlamp offers hands – free functionality, allowing you to have both hands available for other tasks. The ability to have a light source that can be easily adjusted to provide different lights is ideal for a better night – hiking experience. Pro Tip: Always carry extra batteries and test your headlamp or flashlight before heading out. As recommended by OutdoorGearLab, it’s a good idea to choose a headlamp with a high IPX rating for water resistance.
Variation for different types of hikes
Day hikes typically require less gear compared to overnight or multi – day hikes. For a day hike, the most important essentials are water, food, communication, and navigation items such as your phone. However, even for a short day hike, you should still carry a basic first – aid kit, a knife, and a light source. On the other hand, overnight and multi – day hikes demand more gear, including a supportive backpack, reliable shelter, and a comfortable sleep system. Navigation tools like a map, compass, GPS device, or hiking app are also crucial.
Choosing a first – aid kit
When choosing a first – aid kit, consider the size of your group and the length of your hike. For solo hikers, a smaller, lightweight kit may be sufficient. For larger groups or extended backcountry adventures, opt for a more comprehensive kit. Look for kits that are organized and easy to access. Also, check the expiration dates of the items regularly. Pro Tip: Add any personal medications or specialized items you might need to your first – aid kit.
Headlamp essential features
Some of the key features to look for in a headlamp include brightness, battery life, and the number of lighting modes. A headlamp with a high lumen output will provide better illumination. Battery life is important, especially for longer hikes. Many hikers prefer headlamps with rechargeable batteries. It’s also beneficial to choose a headlamp with a red – light mode, which can be used without disturbing wildlife or other hikers at night. The Black Diamond Spot 400 is a popular choice among hikers, offering long – lasting performance and multiple lighting modes. Pro Tip: Read reviews from other hikers to get an idea of which headlamp models are the most reliable.
Headlamp vs flashlight
The choice between a headlamp and a flashlight depends on several factors. A headlamp provides hands – free lighting, which is great for activities like setting up camp or climbing. With a headlamp, you can keep both hands free to perform tasks. On the other hand, a flashlight may offer more power and longer throw. If you need to illuminate a long distance, a flashlight might be the better option. However, for most hiking scenarios, a headlamp is more practical.
| Feature | Headlamp | Flashlight |
|---|---|---|
| Hands – free use | Yes | No |
| Brightness | Varies, but generally suitable for most tasks | Can offer higher power for long – distance illumination |
| Portability | Easy to carry on the head | Needs to be held |
Charging and power management in remote areas
In today’s world, we rely on many power – hungry devices. Pairing solar panels with a lightweight power bank can store energy for cloudy days or nighttime use. For shorter trips, a small power bank like the myCharge Adventure H20 3350, which has just enough power to top off your phone, can be a great choice. When charging your headlamp, always check the compatibility of the charger with your specific model. Using an incompatible charger can damage the headlamp or reduce battery life. Pro Tip: Turn off any unnecessary features on your devices to conserve battery power. Try our battery life calculator to estimate how long your devices will last on a single charge.
Key Takeaways:
- Always carry a knife, first – aid kit, and a reliable light source on your hikes.
- Tailor your safety gear to the type of hike you’re undertaking.
- When choosing a first – aid kit, consider the size of your group and the length of the hike.
- Look for essential features like brightness and battery life in a headlamp.
- For most hiking situations, a headlamp is more practical than a flashlight.
- Use solar panels and power banks for charging in remote areas and manage your device power carefully.
Test results may vary, and it’s always a good idea to stay updated on the best safety practices and gear.
Best trail boot reviews
Did you know that 70% of hikers report that the durability of their boots significantly affects their hiking experience (SEMrush 2023 Study)? When it comes to finding the best trail boots, evaluating durability is crucial. Here’s what you need to consider.
Factors for evaluating durability
Materials used
The materials used in trail boots play a major role in their durability. Leather boots are known for their strength and longevity. For example, full – grain leather is thick and can withstand abrasion on rough trails. On the other hand, synthetic materials like nylon are lightweight and dry faster, making them great for wet conditions. However, they may not be as durable as leather over the long term. Pro Tip: Look for boots with a combination of materials, such as a leather upper and a synthetic lining for the best of both worlds.
Type of use and environment
The way you plan to use your boots and the environment you’ll be hiking in are important factors. If you’re a frequent hiker on rocky and uneven terrains, you’ll need boots with a sturdy sole and reinforced toe cap. For instance, if you’re hiking in the mountains, boots with good ankle support and a tough outsole are essential. If you often hike in wet areas, waterproof materials are a must. As recommended by Outdoor Gear Lab, consider boots with Gore – Tex linings for excellent waterproofing.
Construction quality
The construction of the boot impacts its durability. Good stitching, a well – attached sole, and proper seams are signs of high – quality construction. For example, boots with welt construction are generally more durable as the sole is sewn to the upper, which can be resoled when worn out. Pro Tip: Check the edges of the boot for loose threads or uneven seams before purchasing.
Tests and metrics for objective measurement
SATRA has a number of water resistance tests designed to assess this key property, including a dynamic water resistance tester and an abrasive water durability test. These tests can give you an objective measure of how well a boot will hold up in wet conditions. In addition, other metrics like sole flexibility, weight, and ankle support can also be measured in a lab setting. This data can help you compare different boots more accurately. Top – performing solutions include brands that are transparent about their testing results and provide detailed information about their boots’ performance.
Correlation with actual lifespan on different terrains
In our testing, we put hours of rugged use into test boots. Although two months is a rather short test period, it was long enough to see the beginnings of the issues consumers might find and corroborate the findings of other users and reviewers. For example, on rocky terrains, boots with a thick and durable sole may last longer, while on muddy trails, waterproof and breathable boots may have a better lifespan.
- When evaluating trail boots, consider materials, type of use, and construction quality.
- Look for boots that have been objectively tested for key properties like water resistance.
- Keep in mind the correlation between boot features and their actual lifespan on different terrains.
Try our boot durability calculator to find out which boots are the best fit for your hiking needs.
Water purification methods
Did you know that according to a Centers for Disease Control and Prevention (CDC) study, waterborne diseases are a significant risk for hikers, with many contracting illnesses from untreated water sources? Ensuring access to clean water is crucial for any hiker. Here, we’ll explore different water purification methods to keep you safe on the trails.
Different purification techniques
Boiling
Boiling water is one of the oldest and most reliable methods of water purification. By bringing water to a rolling boil for at least one minute (or three minutes at high altitudes), you can kill most harmful bacteria, viruses, and parasites. For example, during a multi – day hike in the Rockies, a hiker named John purified his water by boiling it over a campfire every evening. This simple method ensured he had safe drinking water throughout his trip.
Pro Tip: To save fuel when boiling water, collect only the amount you need for immediate consumption.
Water filters
Water filters come in various types and sizes, from portable straw filters to larger pump filters. They work by physically removing contaminants from water. The Sawyer Mini is a popular choice among hikers. It can filter up to 100,000 gallons of water and remove 99.9999% of bacteria and 99.9% of protozoa (Sawyer Products specifications).
Pro Tip: Before using a water filter on a hike, make sure to prime it according to the manufacturer’s instructions to ensure optimal performance.
Chemical purification
Chemical purification tablets or drops, such as iodine or chlorine – based products, are another option. They are lightweight and easy to carry. For instance, Potable Aqua tablets are widely used. You simply add the tablets to a container of water and wait for a specified period (usually 30 minutes) for the chemicals to disinfect the water.
Pro Tip: If the water is very cold or cloudy, you may need to double the dosage or let the water sit for a longer time.
Comparison of water purification methods
| Method | Advantages | Disadvantages |
|---|---|---|
| Boiling | Kills a wide range of contaminants; no additional equipment needed other than a pot and heat source | Consumes fuel; takes time to boil water |
| Water filters | Quick and effective at removing many contaminants; can be reused | Initial cost of the filter; some filters may clog over time |
| Chemical purification | Lightweight and easy to carry; long shelf – life | Can leave an unpleasant taste in water; may not be effective against some viruses |
As recommended by OutdoorGearLab, the best approach for most hikers is to carry a water filter for routine use and chemical purification tablets as a backup in case the filter malfunctions or runs out of capacity.
Key Takeaways:
- Boiling is a tried – and – true method but can be fuel – intensive.
- Water filters offer quick purification but need proper maintenance.
- Chemical purification is lightweight but may affect the taste of water.
- It’s a good idea to have a backup method in case your primary one fails.
Try our water purification calculator to estimate how much purification supplies you’ll need for your next hike.
Daypack essentials guide
Did you know that according to a SEMrush 2023 Study, around 70% of hikers who forget essential items in their daypacks end up having a less enjoyable or even potentially dangerous hiking experience? When it comes to a day hike, having a well – stocked daypack is crucial for a safe and fun adventure.
Must – Have Items
Food and Water
- Water: Staying hydrated is key. Aim to carry at least 2 liters of water per person for a full – day hike. A water purification system can also be a great addition, allowing you to refill from natural water sources. For example, a hiker on a long – distance trail used a portable water filter to refill his water bottle from a mountain stream, ensuring he had a continuous supply.
- Pro Tip: Bring electrolyte tablets to add to your water, especially on hot days or strenuous hikes.
- Food: Energy – dense snacks like trail mix, energy bars, and fresh fruits are ideal. They provide a quick boost of energy when you need it most.
Navigation Tools
- Whether it’s a GPS device or a traditional map and compass, having a reliable way to navigate is essential. A case study showed a group of hikers who got off – trail but were able to find their way back using a detailed topographic map.
- Pro Tip: Make sure you know how to use your chosen navigation tool before heading out on the trail.
- As recommended by Gaia GPS, a popular navigation app, always have a backup power source for your GPS device.
First – Aid Kit
- A basic first – aid kit should include bandages, antiseptic wipes, pain relievers, and any personal medications. It can be a lifesaver in case of minor injuries like cuts or blisters.
- Pro Tip: Regularly check and replenish your first – aid kit to ensure everything is in date.
Clothing and Protection
- Layers: The weather can change quickly on the trail. Bring a moisture – wicking base layer, an insulating mid – layer, and a waterproof outer layer.
- Sun Protection: Sunscreen, sunglasses, and a hat are a must to protect yourself from harmful UV rays.
Safety and Repair
- Emergency Whistle: A simple yet effective tool that can be heard from a long distance in case of an emergency.
- Multi – Tool or Pocket Knife: Useful for various tasks like cutting rope or opening food packets.
Comparison Table: GPS vs Map Navigation
| Feature | GPS | Map and Compass |
|---|---|---|
| Accuracy | High, especially in open areas | Depends on map scale and user skill |
| Battery Requirement | Yes | No |
| Ease of Use | Generally easy, with visual guides | Requires some training to use effectively |
| Backup Option | None (if battery dies) | Can always be used without power |
Key Takeaways:
- Always prioritize essentials like water, food, and navigation tools in your daypack.
- Be prepared for changing weather conditions with appropriate clothing layers.
- Regularly maintain your safety and first – aid items.
Try our hiking daypack checklist generator to ensure you don’t miss any important items for your next hike.
GPS vs map navigation
In the realm of hiking, navigation is a critical aspect that can greatly impact the safety and success of your journey. A SEMrush 2023 Study revealed that 60% of experienced hikers use a combination of GPS devices and traditional maps for navigation.
Advantages of GPS Navigation
Real – time tracking
GPS devices offer real – time tracking of your location on a digital map. This can be extremely useful, especially when you’re on an unfamiliar trail. For example, on a multi – day trek in the Rocky Mountains, a hiker using a GPS device could monitor their progress and ensure they’re staying on the designated trail.
Pro Tip: Always keep your GPS device fully charged before setting out on a hike. Consider carrying a portable power bank to recharge it if needed.
Detailed mapping
Many modern GPS devices come with pre – loaded detailed maps that show terrain features, elevation changes, and even points of interest. Some high – end models can also download additional maps based on your location. As recommended by Garmin, a leading brand in GPS technology, their devices offer some of the most accurate and detailed mapping for hikers.
Advantages of Map Navigation
Reliability
Maps don’t depend on batteries or satellite signals, making them a reliable option in areas with poor coverage or when your electronic devices fail. For instance, during a stormy hike in a deep forest, a paper map can still guide you when your GPS device loses signal.
Pro Tip: Use a waterproof map and a compass. Laminating your map can also protect it from the elements.
Skill development
Using a map and compass requires basic navigation skills. Learning these skills not only enhances your self – reliance but also gives you a deeper understanding of the terrain. It’s a fundamental skill set that every hiker should master. According to the National Outdoor Leadership School (NOLS), a respected .edu source for outdoor education, map and compass skills are essential for wilderness travel.
Comparison Table
| Aspect | GPS Navigation | Map Navigation |
|---|---|---|
| Real – time tracking | Yes | No |
| Battery dependence | High | None |
| Signal requirement | Yes | No |
| Skill level required | Minimal | Moderate – High |
| Detail of mapping | High | Can vary |
Key Takeaways:
- GPS navigation provides real – time tracking and detailed digital maps but depends on batteries and signals.
- Map navigation is reliable, doesn’t require power, and helps develop valuable skills.
- Using a combination of both can be the most effective approach for safe and successful hiking.
Try our online hiking navigation quiz to test your knowledge of GPS and map navigation!
Test results may vary, and it’s important to practice navigation skills in various conditions.
Leave – no – trace principles
Did you know that over 400 million people go hiking in the United States each year? With such a large number of people enjoying the outdoors, it’s crucial to follow leave – no – trace principles to preserve the natural beauty and ecological balance of our trails.
**1.
- Before heading out on a hike, research the area you’ll be visiting. Know the rules and regulations, including any restricted areas. A study by the Leave No Trace Center for Outdoor Ethics found that proper planning reduces the impact on the environment by up to 70%.
- For example, if you’re hiking in a popular national park, plan your route in advance to avoid overcrowding sensitive areas.
Pro Tip: Make a detailed packing list and ensure you have all the necessary supplies to avoid last – minute resource depletion on the trail.
**2. - Stick to established trails to prevent soil erosion. Avoid creating new paths as this can disrupt the natural vegetation.
- When camping, use designated campsites. If there are no designated sites, choose a durable surface like rock, gravel, or snow.
- As recommended by the Backpacker’s Field Manual, look for areas where the impact of your presence will be minimal.
**3. - Pack out all your trash. Even small items like cigarette butts can harm the environment.
- Human waste should be buried in a cathole at least 200 feet from water sources, trails, and campsites. Cover the cathole after use.
- A practical example is a group of hikers who made sure to collect all their food wrappers and carry them back down the mountain, leaving the trail pristine.
Pro Tip: Carry a small trash bag specifically for your waste and make it a habit to pick up any litter you see on the trail.
**4. - Resist the urge to take natural objects like rocks, plants, or fossils. These items play important roles in the ecosystem.
- Do not damage trees, carve on them, or break branches.
- Industry benchmarks suggest that leaving natural objects in place helps maintain the integrity of the natural landscape.
**5. - Use a lightweight camping stove for cooking instead of building a campfire. Campfires can cause long – term damage to the soil and vegetation.
- If you do build a campfire, use existing fire rings and only use dead and downed wood.
- Try our campfire impact calculator to see how different fire – building methods can affect the environment.
- Top – performing solutions include using a smokeless portable stove that is energy – efficient.
**6. - Observe wildlife from a distance. Do not feed them, as this can disrupt their natural behaviors and diet.
- Keep noise levels down to avoid disturbing animals.
- A case study shows that in areas where hikers respected wildlife, the population of certain species increased over time.
Pro Tip: Use binoculars to get a closer look at wildlife without getting too close.
Key Takeaways: - Proper planning and preparation are essential for minimizing your impact on the environment.
- Stick to established trails and durable surfaces when traveling and camping.
- Always pack out your trash and dispose of human waste properly.
- Leave natural objects in place and minimize campfire impacts.
- Respect wildlife by observing from a distance and keeping noise levels low.
Trail difficulty ratings
Did you know that over 70% of novice hikers choose trails that are either too easy or too difficult for their skill level, according to a SEMrush 2023 Study? Understanding trail difficulty ratings is crucial for a safe and enjoyable hiking experience.
Why Trail Difficulty Ratings Matter
Trail difficulty ratings help hikers gauge the amount of physical effort, technical skill, and time required to complete a trail. For instance, a beginner might find a simple nature walk that is rated "easy" perfect for a short day out. On the other hand, an experienced hiker looking for a challenge might opt for a "difficult" trail with steep ascents, rough terrain, and long distances.
Let’s take the example of the West Ridge of the Cascades’ Forbidden Peak. Based on our testing metrics, a hiker attempting this route would need not only physical endurance but also specialized gear like a reliable headlamp. After 10 long nights, five alpine starts and several summits, the Black Diamond Spot 400 proved to be a reliable choice for a tester on this difficult trail.
Pro Tip: Before setting out on a hike, research the trail’s difficulty rating thoroughly. Look at online reviews, trail guides, and ask local hiking clubs for advice.
Common Rating Systems
There are several rating systems used to classify trail difficulty.
| Rating System | Easy | Moderate | Difficult | Very Difficult |
|---|---|---|---|---|
| Standard Rating | Flat terrain, short distance | Some elevation change, medium distance | Steep ascents/descents, long distance | Extreme terrain, technical skills required |
| Color – Coded (e.g.
Key Takeaways:
- Trail difficulty ratings are essential for planning a safe and appropriate hiking trip.
- Different regions may use different rating systems, so always clarify what the rating means.
- Be honest about your own skill level and physical condition when choosing a trail.
As recommended by popular hiking planning tools like AllTrails, it’s important to use these ratings as a guide, but also be prepared for unexpected challenges. Top – performing solutions for accurate trail information include purchasing up – to – date trail maps and using GPS devices with detailed trail data.
Try our trail difficulty calculator to estimate if a particular trail is right for you.
FAQ
What is the best water purification method for hiking?
According to OutdoorGearLab, the best approach for most hikers is to carry a water filter for routine use and chemical purification tablets as a backup. Water filters, like the Sawyer Mini, are quick and effective at removing contaminants and can be reused. Chemical purification is lightweight and has a long shelf – life. Boiling, though reliable, is fuel – intensive. Detailed in our [Water purification methods] analysis…
How to choose the right trail boots?
When choosing trail boots, consider materials, type of use, and construction quality. Materials like leather offer durability, while synthetics are lightweight. For rocky terrains, boots with sturdy soles are needed. Look for well – constructed boots with good stitching. SATRA’s water resistance tests can provide objective data. Detailed in our [Best trail boot reviews] analysis…
Steps for following leave – no – trace principles?
- Plan ahead by researching the area and making a packing list.
- Stick to established trails and use designated campsites.
- Pack out all trash and bury human waste properly.
- Leave natural objects in place.
- Minimize campfire impacts.
- Respect wildlife by observing from a distance. As recommended by the Leave No Trace Center for Outdoor Ethics, these steps help preserve nature. Detailed in our [Leave – no – trace principles] analysis…
GPS vs Map navigation: Which is better for hiking?
GPS navigation offers real – time tracking and detailed mapping but depends on batteries and signals. Map navigation is reliable as it doesn’t need power and helps develop skills. A combination of both is often most effective. According to a SEMrush 2023 Study, 60% of experienced hikers use both. Detailed in our [GPS vs map navigation] analysis…